Backhand
To follow along with players as they describe and execute the process of how to throw a proper backhand, please watch the following video https://www.youtube.com/watch?v=1A2q25AkW64&t=2s. |
Backhand throws are generally the first throw learned by players. This is because the movement tends to be more natural than other throws. Backhands provide more separation from the defense (mark) than forehands because you step further away from your pivot foot. To execute a proper backhand, there are four main concerns; the grip, wrist motion, arm motion, and footwork. |
Grip |
There are three main ways to grip a backhand; the split finger, single finger, and power grip. The grips listed increase in power but decrease in control from the split to the power grip. In general, you want to focus on eliminating the space between the disc and your hand. Having space between the disc and your hand decreases the power in the throw because power mainly originates from the grip in the fingertips. Additionally, the key in throwing is consistency; if you begin learning with the power grip, then you can establish control and habit. In the future, when you attempt to throw the disc further, you will not have to adjust your grip from a split or single finger grip and relearn how to throw.
|
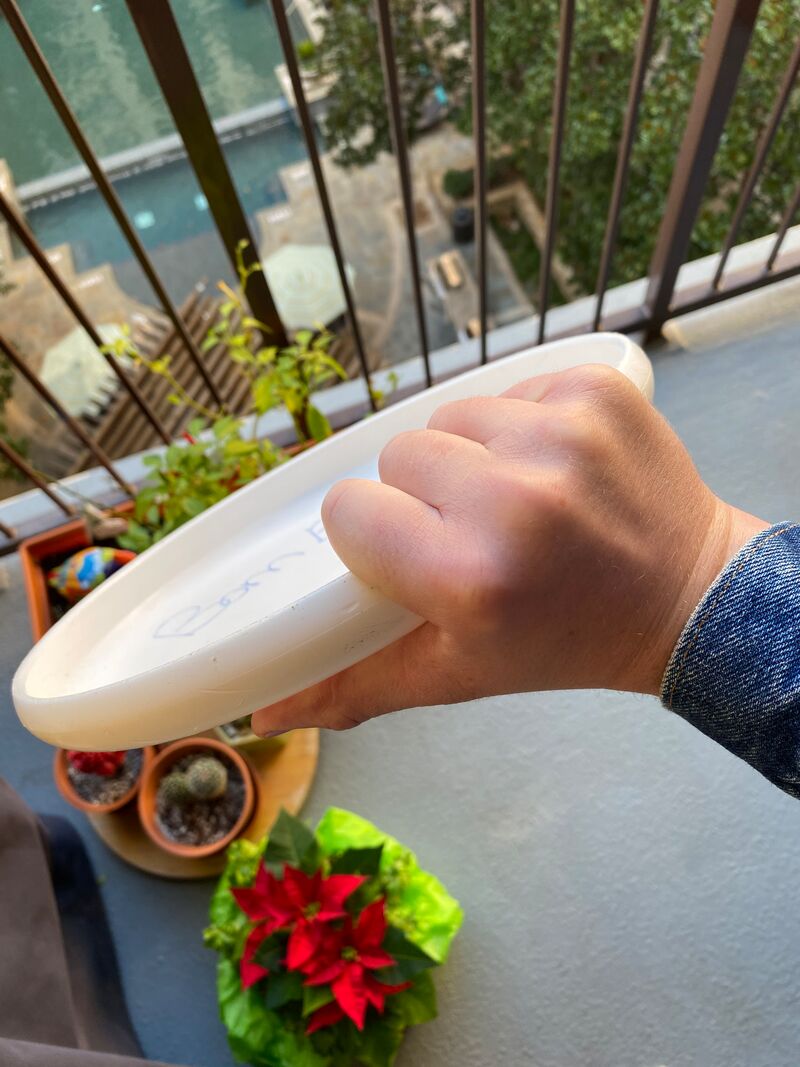
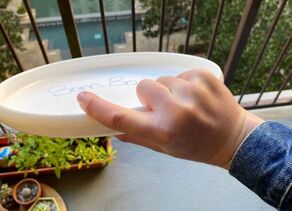
Power Grip
To grip the frisbee for a power grip, place your dominant hand’s thumb on the top of the disc and wrap your four other fingers under the rim. This is known as the power grip; it is like holding a steering wheel.
Top View of Power Grip for Backhand
|
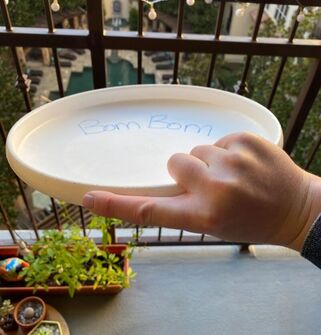
Side View of Power Grip for Backhand
|
Bottom View of Power Grip for Backhand
|
Split grip
 Side View of Split Grip for Backhand
For the split grip, extend your index finger so that it rests under the rim of the disc. This grip is best for short distance throws, such as a push passes or a dump passes, as it has the most amount of control.
Single finger grip
 Side View of Single Finger Grip for Backhand
Lastly, to hold the disc in a single finger grip, extend your index finger along the outer edge of the disc. The single finger grip is sufficient for medium distance throws.
Many players find that spreading their middle and ring finger out from the rim allows for a more comfortable and stable grip in general. It is important to play around with your grip until you figure out what works for you.
Wrist motion
A good indication of weak wrist flick is if the disc wobbles in the air. The wrist flick refers to bending the disc in towards your forearm and then snapping your wrist back out away from your body. To maximize your wrist flick, practice this motion by standing ten feet away from a partner. At this distance, you should be able to get the disc to your partner simply by flicking your wrist without engaging your arm.
Arm Motion
Once you can flick the disc with little to no wobble, you can add in arm and body movement. Essentially, you will want to create a 90-degree angle with your dominant arm and elbow. Twist your upper body towards your non-dominant side so that your dominant shoulder (with your arm following) is aligned in the direction you want to throw (generally in front of you). Then, begin to untwist your upper body. Lead with your elbow, then back of your hand, and then snap your wrist to throw the disc.
footwork
Begin by squaring your hips to a target in front of you and place your feet shoulder width apart. Your non-dominant foot is always your pivot foot. For example, if you are right handed, then your left foot will be your pivot foot; your left foot should never leave the ground while you are in possession of the disc. Turn your pivot foot slightly outwards away from your body at no more than a 45-degree angle from the front of your body. Step across your body with your dominant foot far enough out so your dominant leg is in a lunge across your pivot foot. Your hips should now be pointed to the side. You will then execute the body and arm motion discussed in the previous section; twist your hips and core so your stomach basically faces the target while simultaneously moving your arm. Lead with your elbow, then back of your hand, and the snap your wrist once your arm is in front of the target and release the disc.
TIPS |
|
